How to Connect to a Remote Valkey (or Redis) Instance from VS Code (and Cursor, Windsurf, and Others) via SSH Tunnel
Stop running ssh -L by hand every time you need to check something. Here's how to connect to remote Valkey and Redis instances via SSH tunnel without leaving your editor.
You've got a Valkey instance running on a remote server. It's not exposed to the internet - and it shouldn't be. So you SSH into the box, run valkey-cli, poke around, and close the terminal. Then ten minutes later you need to check something else and do it all over again.
Or maybe you set up a local port forward manually:
ssh -L 6379:localhost:6379 user@your-server.com
Then connect your GUI tool to localhost:6379 and hope you didn't accidentally leave that tunnel open overnight.
It works. It's also tedious.
Here's how to do it properly from VS Code, without leaving your editor.
The Problem with Manual SSH Tunnels
The ssh -L trick is fine as a one-off, but it has real friction:
- You have to remember the syntax every time
- The tunnel is completely separate from your tooling — close the terminal and it's gone
- There's no indication in your editor whether the tunnel is active or dead
- If you're juggling multiple environments (local, staging, prod), keeping track becomes a mess
What you actually want is a connection that knows about SSH — one that handles the tunnel for you as part of connecting.
Option 1: The Manual Way (if you must)
If you're not using any GUI tooling and just need to get in quickly:
# Open the tunnel in the background
ssh -N -L 6379:localhost:6379 user@your-server.com &

# Now connect locally
valkey-cli -h 127.0.0.1 -p 6379
The -N flag means "don't execute a remote command, just forward ports." The & puts it in the background.
Kill it when you're done:
# Find and kill the tunnel process
ps aux | grep ssh
kill <pid>
This works. I wouldn't call it a great workflow.
Option 2: Use the BetterDB Extension (the one that handles this for you)
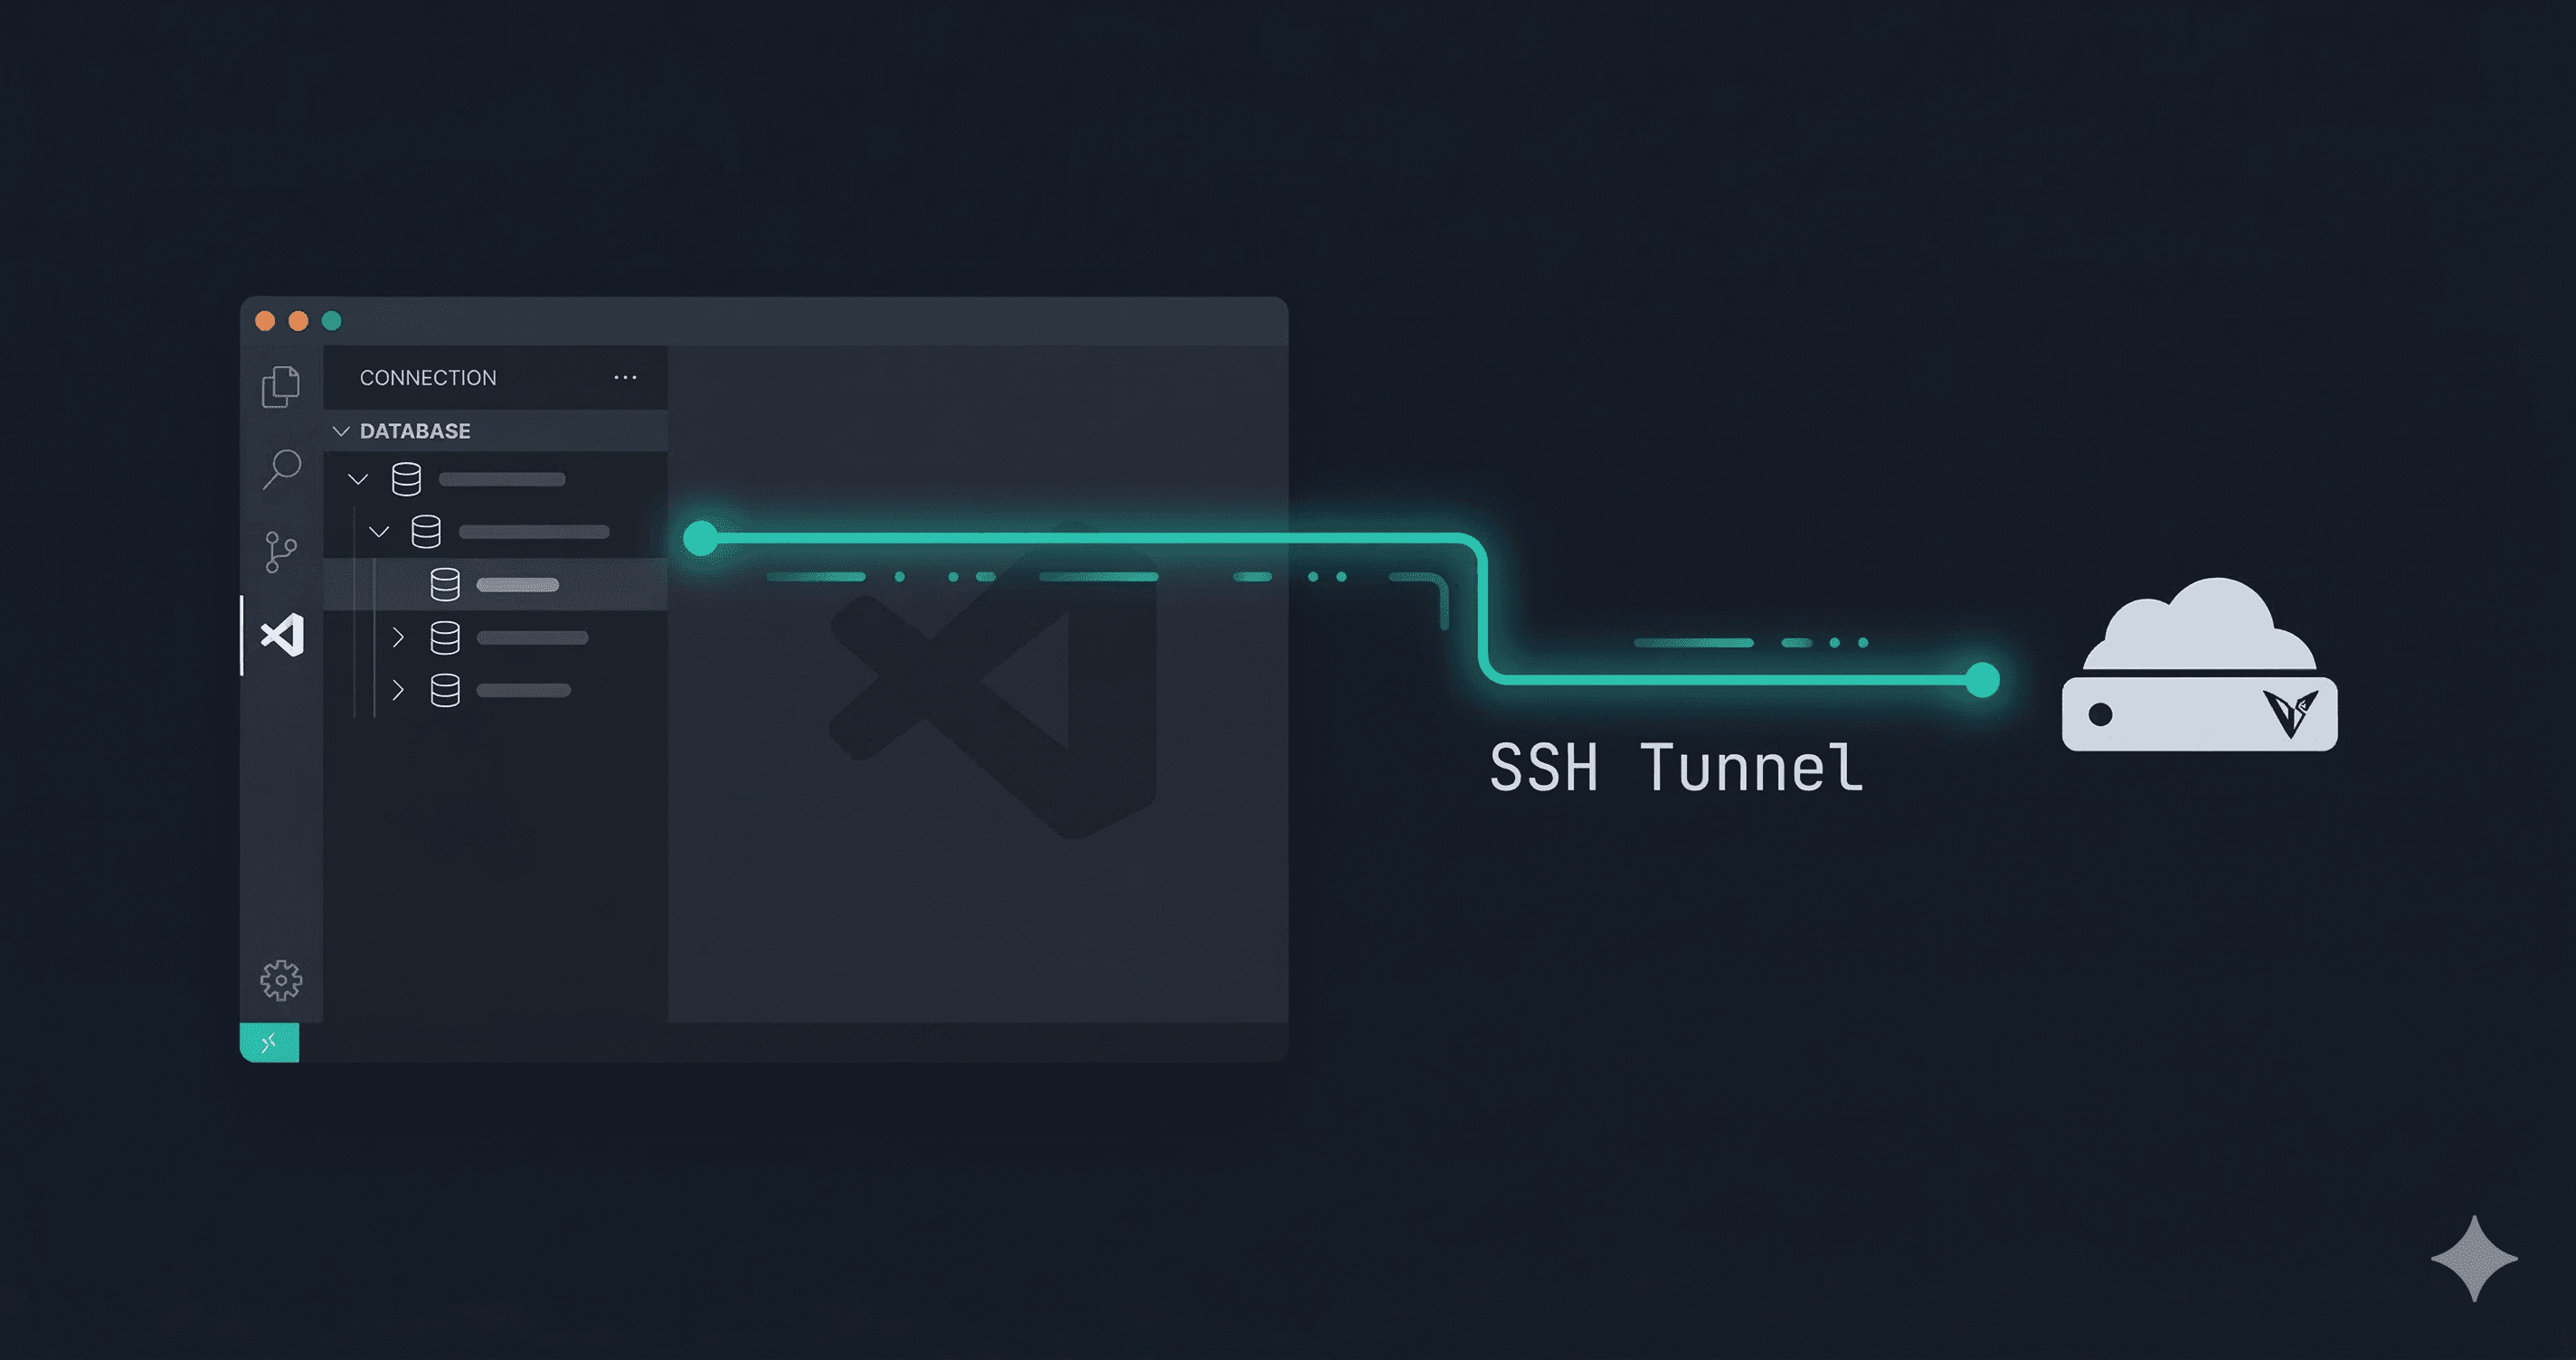
BetterDB for Valkey is a free, MIT-licensed extension built specifically for Valkey (with full Redis compatibility). One of the things it supports out of the box is SSH tunnel connections - you configure it once, and it manages the tunnel lifecycle for you.
It works in VS Code and all the major forks: Cursor, Windsurf, Void, VSCodium, and Positron.
Install it
Search "BetterDB" in the Extensions panel, or install via CLI:
# VS Code
code --install-extension BetterDB.betterdb-for-valkey

# Cursor / Windsurf / Void — same flag, different binary
cursor --install-extension BetterDB.betterdb-for-valkey

# VSCodium — install from Open VSX or drop the .vsix directly
codium --install-extension BetterDB.betterdb-for-valkey
Available on both marketplaces:
- VS Code Marketplace
- Open VSX Registry (for VSCodium and other open-source forks)
Add a connection with SSH tunnel
- Open the BetterDB panel from the sidebar
- Click Add Connection
- Fill in your Valkey host and port (as seen from the remote server — usually
127.0.0.1:6379) - Toggle on SSH Tunnel
- Enter your SSH host, port (default 22), username, and either your private key path or password
That's it. The extension opens the tunnel when you connect and closes it when you disconnect. No background processes to babysit.
Common Scenarios
AWS ElastiCache or MemoryDB
These are only accessible from within the VPC. If you have a bastion host (or any EC2 instance in the VPC), the flow is:
- SSH Host: your bastion's public IP
- SSH User:
ec2-user(orubuntu, depending on the AMI) - SSH Key: your
.pemfile - Valkey Host: the ElastiCache/MemoryDB endpoint (the one that starts with something like
clustercfg.my-cluster...) - Valkey Port: 6379 (or 6380 for TLS)
The extension will SSH into the bastion and forward the ElastiCache port locally.
Private server (Hetzner, DigitalOcean, etc.)
If Valkey is running on a VPS and bound to 127.0.0.1 (which is the safe default):
- SSH Host: your server's public IP
- Valkey Host:
127.0.0.1 - Valkey Port:
6379
Dead simple.
Kubernetes (self-hosted)
If Valkey is running as a pod in a Kubernetes cluster, you don't need an SSH tunnel — kubectl has its own port-forwarding built in:
# Forward the Valkey pod port to your local machine
kubectl port-forward svc/valkey 6379:6379 -n your-namespace
Then connect BetterDB to 127.0.0.1:6379 with no SSH config needed. The connection stays alive as long as the kubectl process is running.
If you're on a managed cluster (EKS, GKE, AKS) and don't have direct kubectl access, you're back to the bastion/SSH tunnel approach — point the SSH host at a node or jump host that has cluster access.
Docker Compose
If Valkey is running in a Docker Compose stack on a remote machine, the simplest approach is to combine SSH tunneling with Docker's internal networking.
By default, Compose services aren't exposed to the host unless you explicitly map the port. If you haven't mapped it, SSH into the remote machine first and check:
docker compose ps
If port 6379 isn't mapped to the host, you have two options:
Option A - Map the port (quick, but exposes it on the remote host's loopback):
# docker-compose.yml
services:
  valkey:
    image: valkey/valkey:8
    ports:
      - "127.0.0.1:6379:6379"  # bind to loopback only
Then use an SSH tunnel in BetterDB pointing at 127.0.0.1:6379 on the remote.
Option B - Use the container directly (no Compose changes needed):
# On the remote machine, find the container's internal IP
docker inspect <container_name> | grep IPAddress

# Then SSH tunnel to that internal IP from your local machine
ssh -L 6379:<container_ip>:6379 user@remote-host
The BetterDB SSH tunnel config handles Option A cleanly — set the Valkey host to 127.0.0.1 and let the extension manage the tunnel. Option B is more of a one-off debugging move.
Multiple environments
You can save multiple named connections — local dev, staging, prod. Switching between them takes one click.
A Note on Security
Regardless of how you're connecting, a few things worth keeping in mind:
- Don't expose Valkey/Redis ports directly to the internet. Bind to
127.0.0.1and use a tunnel. - Use key-based SSH auth, not passwords.
- For production, require authentication (
requirepassin Valkey config or use ACLs). - If you're on ElastiCache/MemoryDB, TLS in transit is worth enabling.
The SSH tunnel approach is the right one here. You're not punching holes in your firewall, you're using an encrypted channel you already have.
Wrapping Up
If you're still doing ssh -L by hand every time you need to check something in a remote Valkey instance, there's an easier way. Configure the connection once in BetterDB, and it just works from VS Code every time.
The extension is free and open source (MIT). Install it from the VS Code Marketplace or the Open VSX Registry. If you run into issues or want to contribute, the source is on GitHub.